HPL Sheet Installation Guide & Checklist | Shreenath Global
Installation guide & checklist

How to Install HPLMAKER/UVCLAD HPL Sheets

Installing HPLMAKER HPL sheets is a straightforward process, provided the right steps and tools are used. From site measurement and subframe preparation through gluing, riveting and alignment, this guide will help your installation stay smooth, professional and long-lasting.

Unmatched versatility & style

  • Number 1 HPL seller in South India
  • Live camera warranty with written certificate
  • Complete local support
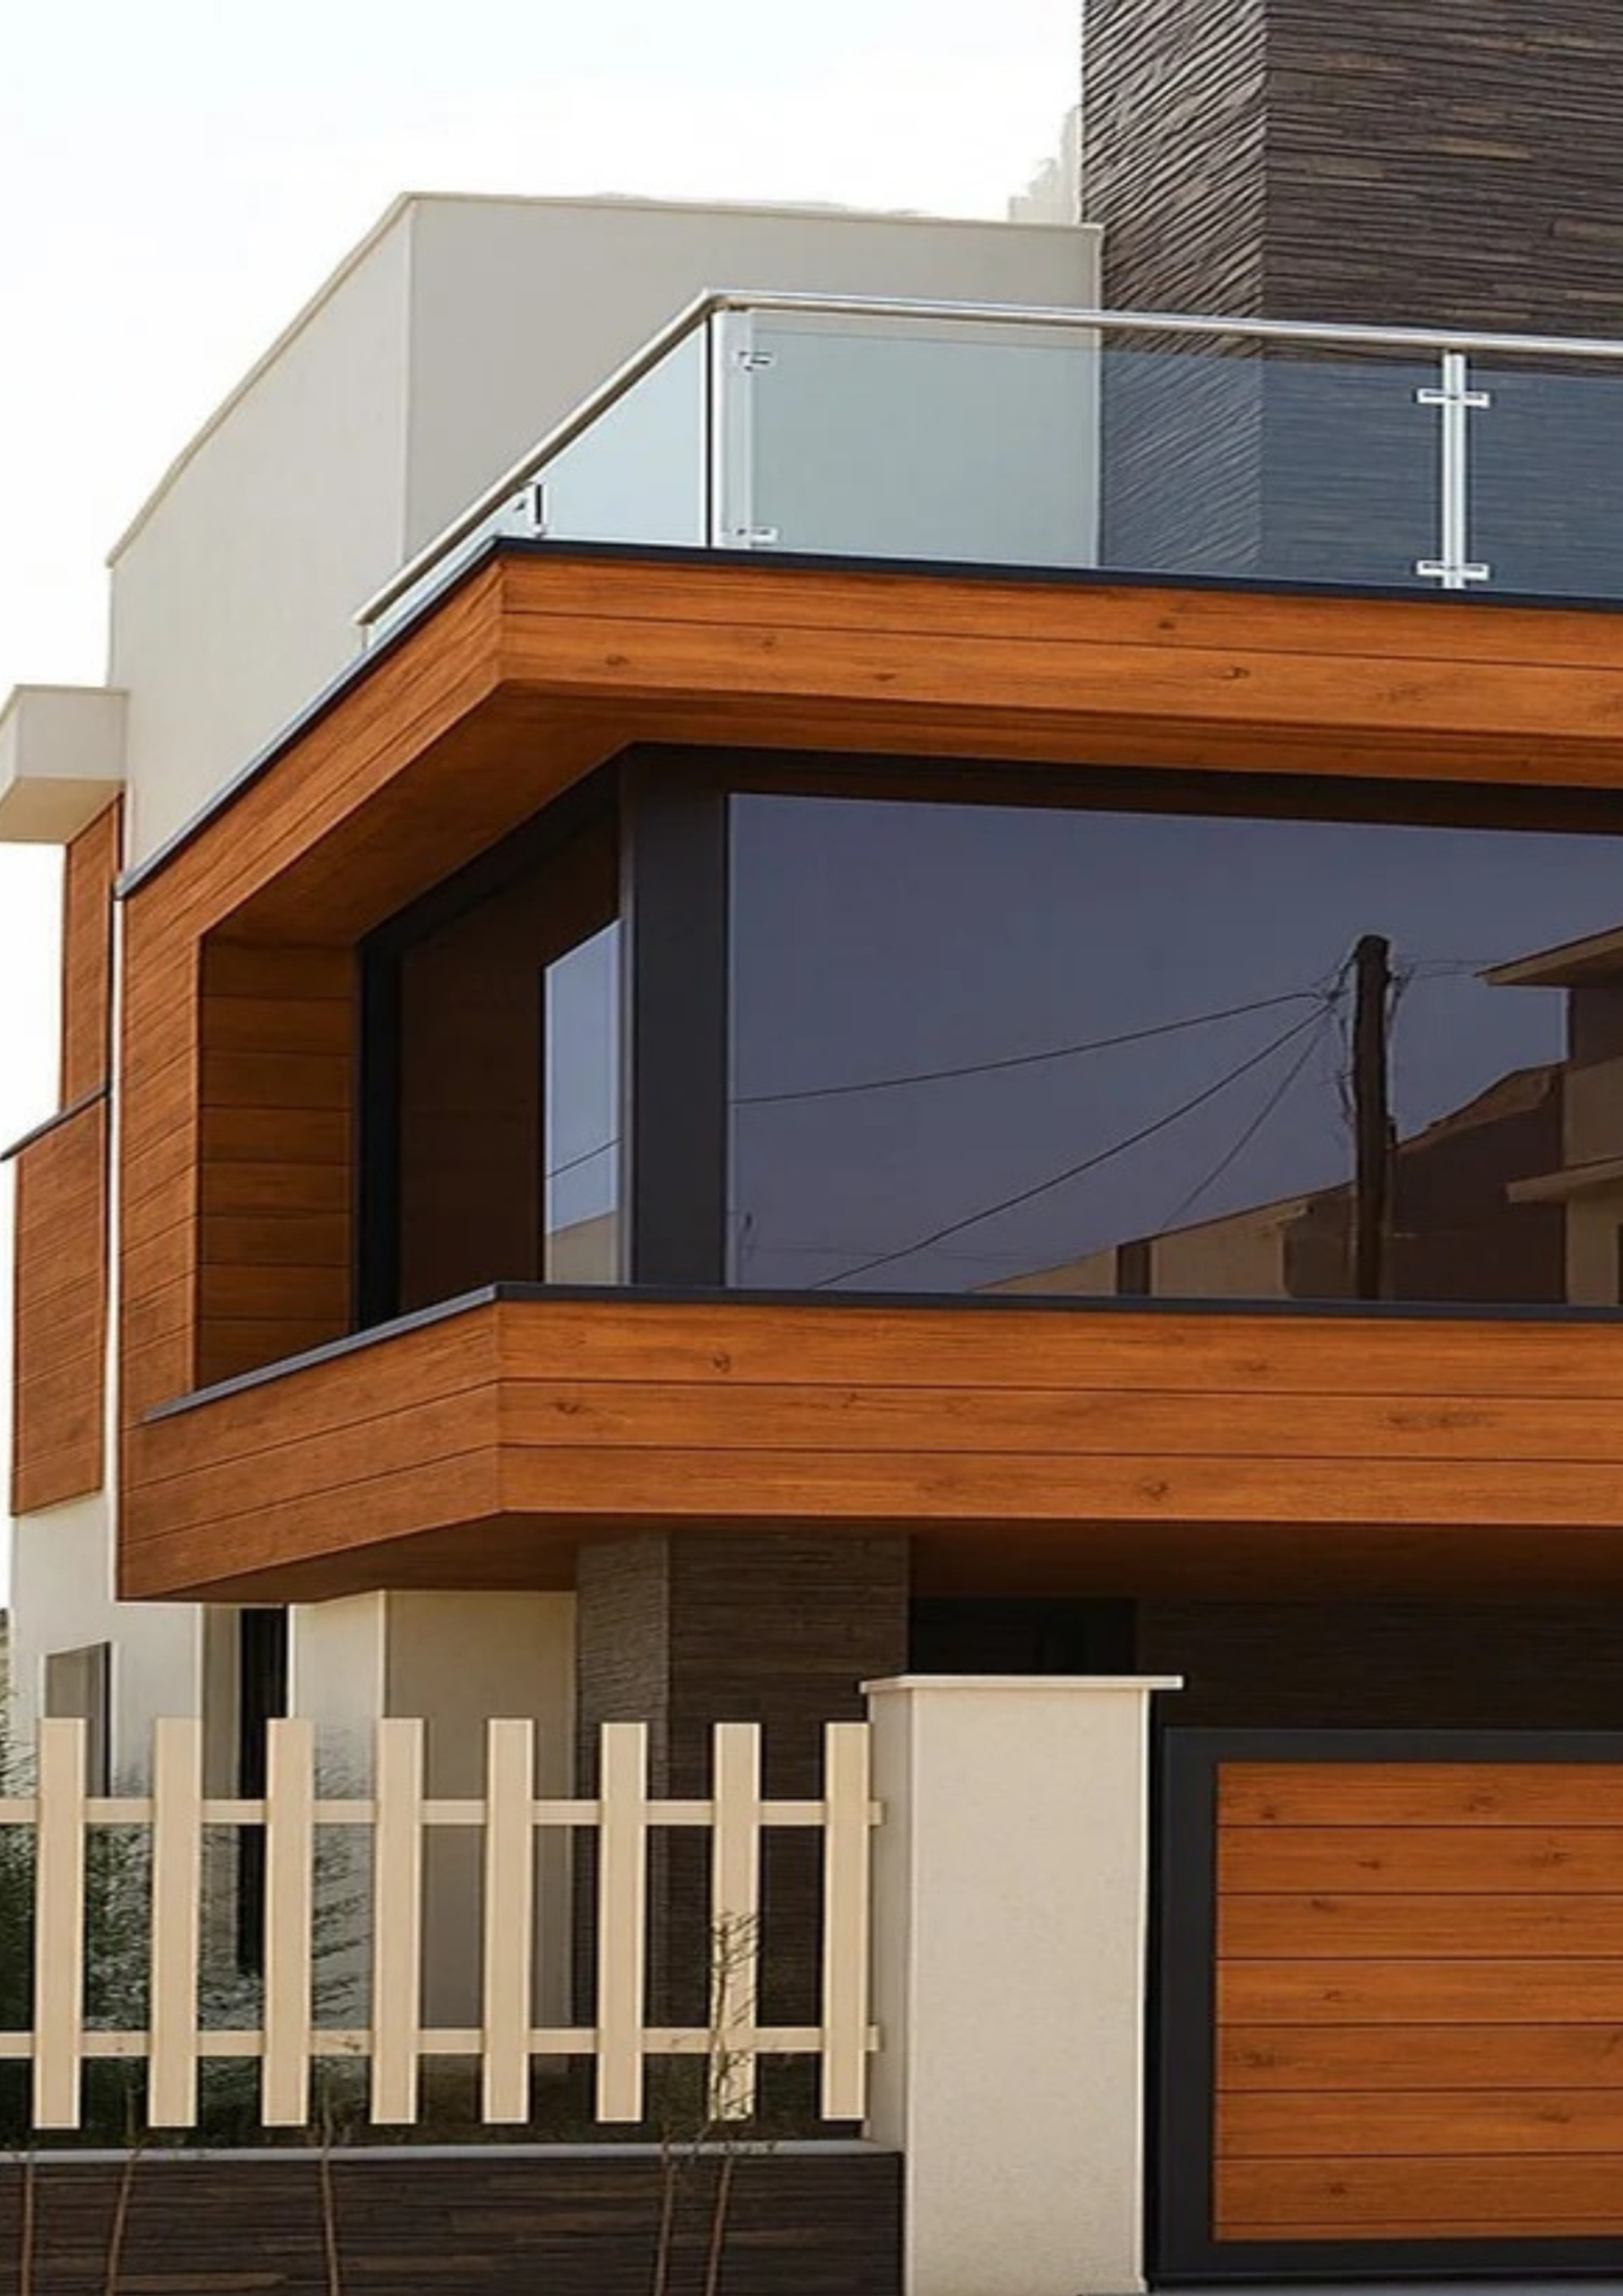
HPLMAKER HPL sheet installation — finished exterior cladding
Before you begin

What you'll need.

Tick off each item as you gather it, so nothing is missing once the subframe goes up.

0 of 10 ready

All set. Begin with stage 1

Tools and materials needed for HPL sheet installation

Safety gear on, every time.

Wear gloves, goggles and a mask while cutting, drilling, riveting and working with adhesive.

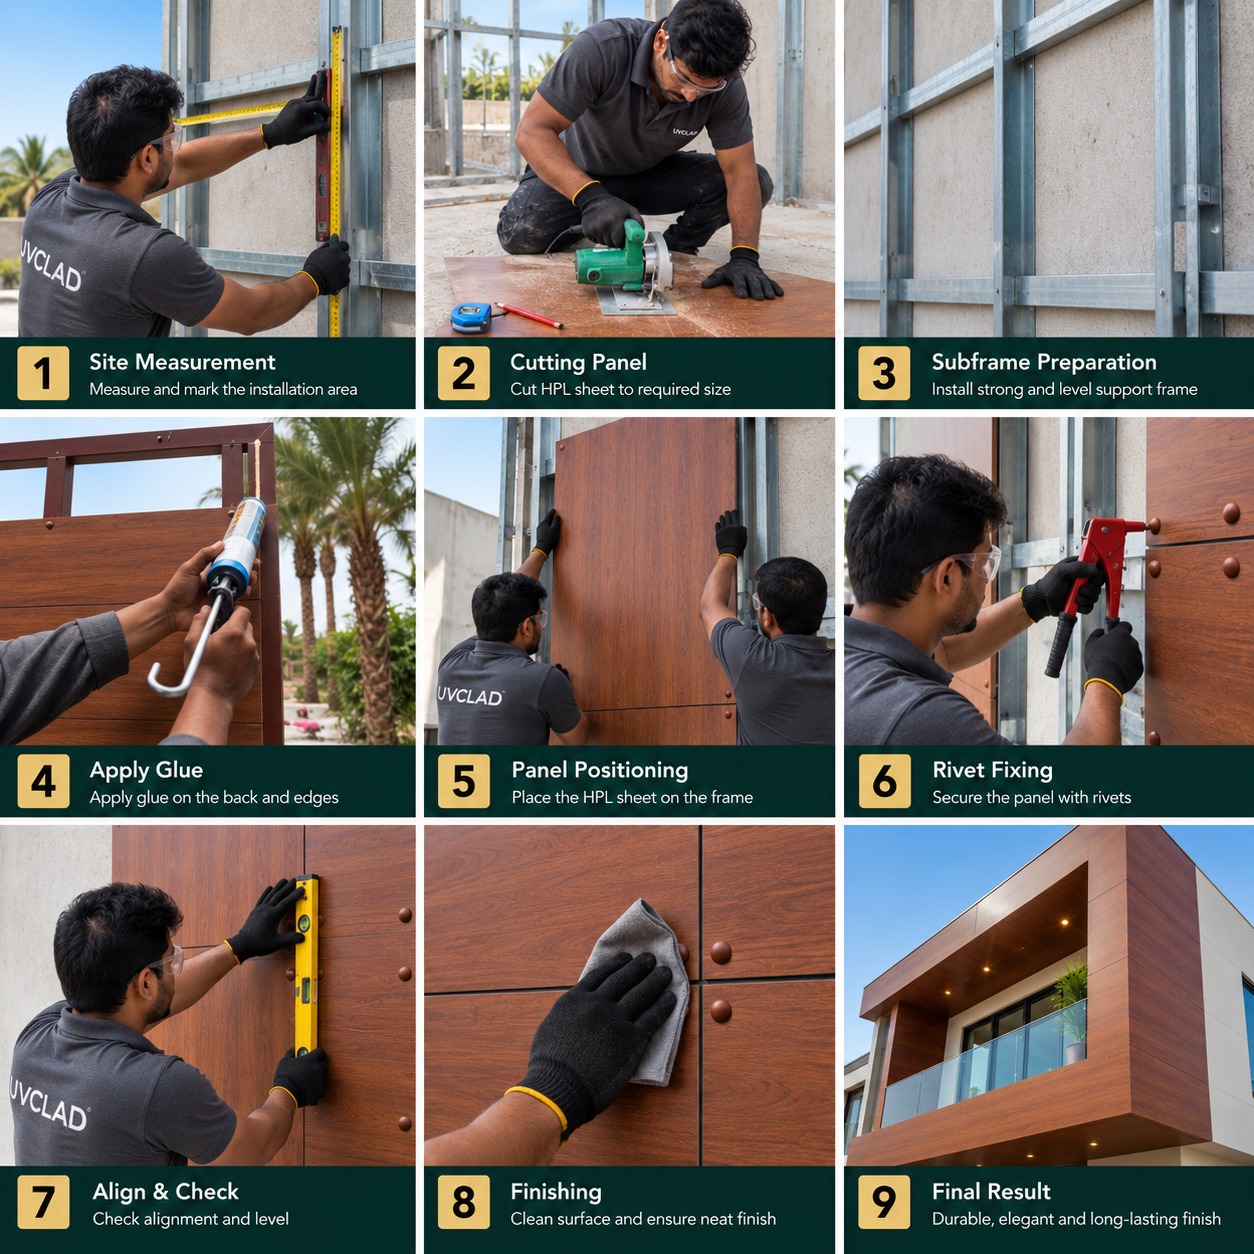
How to install HPLMAKER HPL sheet & checklist

Let's walk you through the process.

Nine stages, in order. Finish each one before moving to the next.

01

Site Measurement

Accurate measurements at the start save every step that follows.

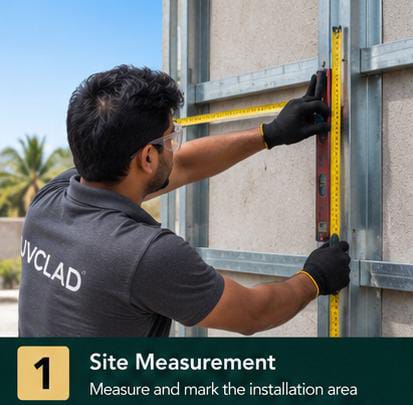
Installer measuring the wall elevation with a tape measure before HPL installation
  1. Measure and mark the installation area

    Take accurate measurements of the elevation you'll be cladding, and mark the boundaries on the wall. Getting this right up front decides how the subframe grid and panel sizes are planned.

02

Cutting Panel

Cut the HPL sheet to size before it goes anywhere near the wall.

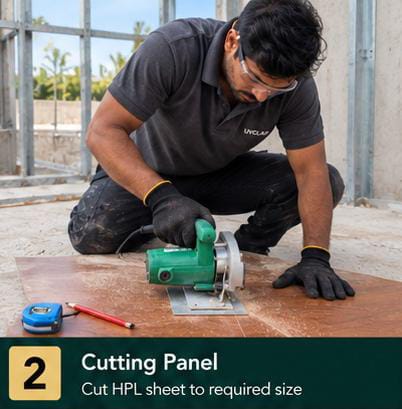
Installer cutting an HPL sheet to size with a circular cutter
  1. Cut the HPL sheet to the required size

    Using the measurements from stage one, mark the sheet and cut it with a circular cutter or panel saw fitted with a fine-toothed blade, following the line closely for a clean, straight edge. Wear safety glasses and gloves while cutting.

03

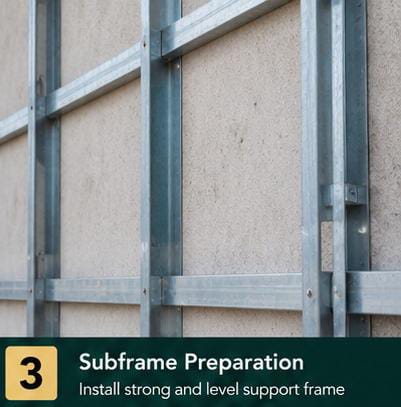
Subframe Preparation

A strong, level frame is what every panel above it depends on.

Metal subframe channels installed and levelled on the wall before HPL panel fixing
  1. Install a strong and level support frame

    Fix the metal subframe channels to the wall, checking each run with a spirit level as you go. A properly levelled subframe keeps every panel flush and aligned once fixing begins.

04

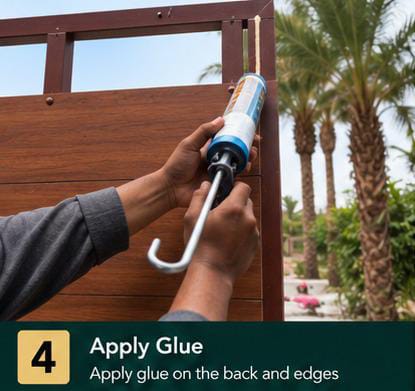
Apply Glue

The adhesive bond backs up the mechanical fix that comes later.

Applying exterior-grade adhesive to the back and edges of an HPL sheet with a caulking gun
  1. Apply glue on the back and edges

    Using a caulking gun, run an even bead of approved exterior-grade adhesive along the back and edges of the HPL sheet.

    Don't over-apply — excess adhesive squeezes out and can leave uneven bumps behind the panel.
05

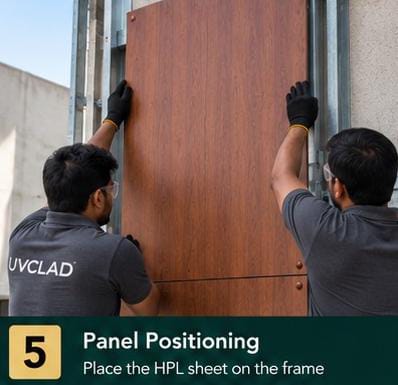
Panel Positioning

Two pairs of hands make this stage far easier to get right.

Two installers placing the HPL sheet onto the subframe
  1. Place the HPL sheet on the frame

    Lift the panel into position on the subframe and align its edges with the marked lines and neighbouring panels before pressing it against the adhesive. Working with a second person keeps the panel steady and square.

06

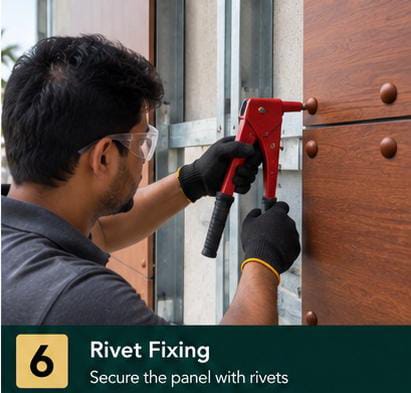
Rivet Fixing

The mechanical fix that holds the panel through every season.

Installer using a rivet gun to secure the HPL panel to the subframe
  1. Secure the panel with rivets

    With the panel positioned, drive rivets through the panel into the subframe at the marked fixing points using a rivet gun. This mechanical fix backs up the adhesive bond so the cladding stays secure long-term.

07

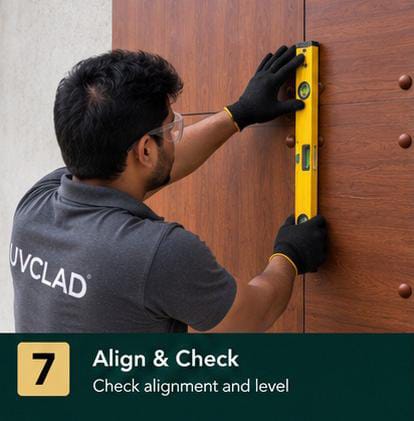
Align & Check

Catch any drift now, while the adhesive is still workable.

Checking HPL panel alignment and level with a spirit level
  1. Check alignment and level

    Run a spirit level across the panel and along its joints with neighbouring sheets, confirming everything is plumb and flush before the adhesive fully cures.

    Check before adhesive cures
08

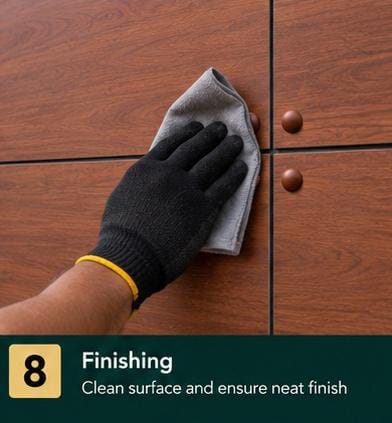
Finishing

A clean surface is what makes the installation look complete.

Wiping down the finished HPL panel surface with a clean cloth
  1. Clean surface and ensure a neat finish

    Wipe down the installed panels with a clean microfiber cloth to remove dust, fingerprints and any adhesive residue around the rivets and joints.

09

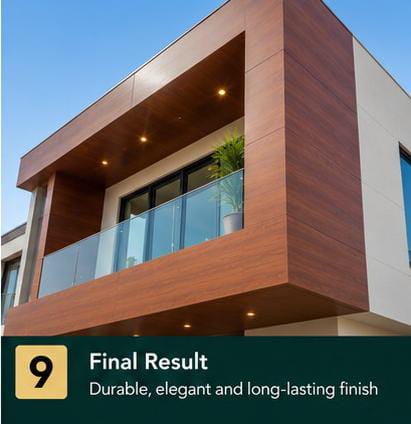
Final Result

A finish built to stand up to sun, rain and years of use.

Finished exterior HPL cladding on a modern balcony facade
  1. Durable, elegant and long-lasting finish

    Done right, an HPL sheet installation gives you a weatherproof, low-maintenance exterior finish that holds its colour and texture for years.

Customer showcase

Show us how it turned out.

Your installation is done — now let it be seen. Upload a photo of the finished wall, and selected projects get featured in our gallery with your name and city.

Drag & drop your photos here

or · JPG or PNG · up to 5 photos

Send photos on WhatsApp

WhatsApp opens with your message ready — attach the selected photos there and hit send.

Completed HPL cladding project shared by a customer

Get featured.

Clear daylight shots of the full elevation work best. Add a close-up of the joints and rivet line if you have one.

Knowledge centre

Installation videos.

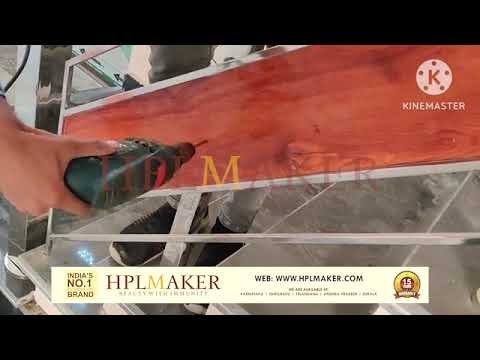
Watch the installation process on video. Pick a clip from the list to play it here.

Hqdefault
Installation video 1
More videos on YouTube
FAQs

Installation questions.

Do HPL sheets need a subframe for exterior installation?
Yes. For exterior wall cladding a strong, level metal subframe is installed on the wall first. It carries the panel load, keeps every sheet aligned, and creates a ventilated cavity behind the cladding.
Which adhesive should I use to install HPL sheets?
Use an approved exterior-grade structural adhesive, applied in an even bead along the back and edges of the sheet with a caulking gun before the panel is positioned.
Why are rivets used in addition to adhesive?
Rivets give the panel a mechanical fix into the subframe that backs up the adhesive bond, so the cladding stays secure through heat, wind and years of weather exposure.
How do I cut an HPL sheet cleanly?
Mark the sheet to size and cut it with a circular cutter or panel saw fitted with a fine-toothed blade, following the marked line closely for a clean, straight edge.
How is panel alignment checked during installation?
Once the panel is riveted in place, a spirit level is used to check it is plumb and level, and that its edges line up with adjoining panels, before the adhesive fully cures.
Do you offer installation support?
Yes. We provide complete local support and a live camera warranty with a written certificate. Call +91 91091 17333 or message us on WhatsApp.

Wide Dark Section
Get your quote

Explore our range of HPL solutions.

Get your quote or call our team.